

Step 1: TS3
Before starting to set up Swifty and the mod Repositories, it is important to first download Team Speak 3.
After downloading the correct client for your OS, let it run once.
While you have it open use the opportunity to favourite the server, set a nickname and make sure your keybinds are right.
After downloading the correct client for your OS, let it run once.
While you have it open use the opportunity to favourite the server, set a nickname and make sure your keybinds are right.
Click on the tab Connections and click Connect.
//It doesnt let me take a screenshot of the pop up window...
Enter the following information:
Server Address: stormplatoon.ddns.net
Password: 4567
Nickname: [Your Nickname]
Once connected click the bookmarks tab.
//It doesnt let me take a screenshot of the pop up window...
Enter the following information:
Server Address: stormplatoon.ddns.net
Password: 4567
Nickname: [Your Nickname]
Once connected click the bookmarks tab.
Click add to bookmarks.
//Again no screenshot...
After the bookmark is set up click on the tools tab.
//Again no screenshot...
After the bookmark is set up click on the tools tab.

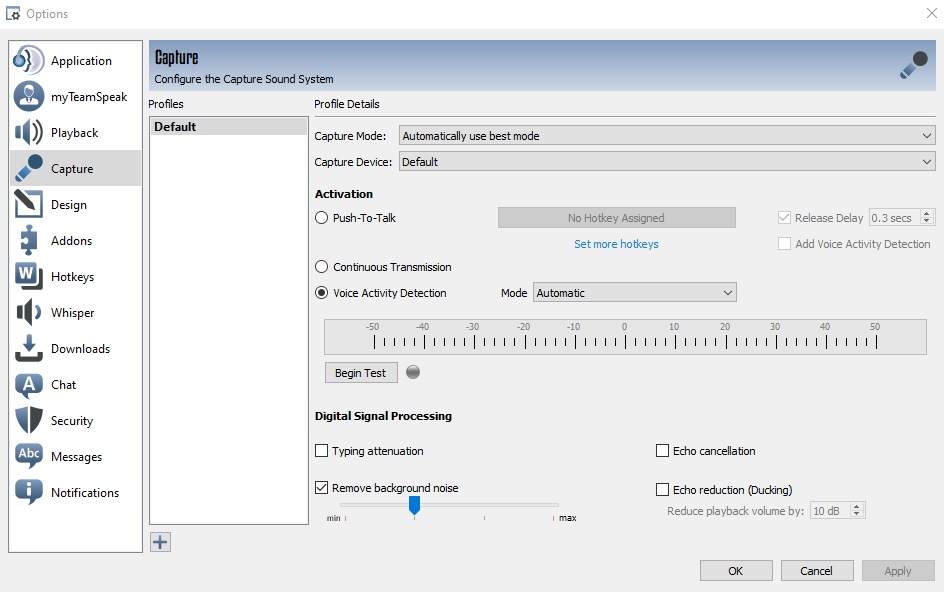
Click on the Capture Tab.
Select Push-To-Talk and set your Arma3 radio keybind (Default= CAPS) to be your PTT Hotkey.
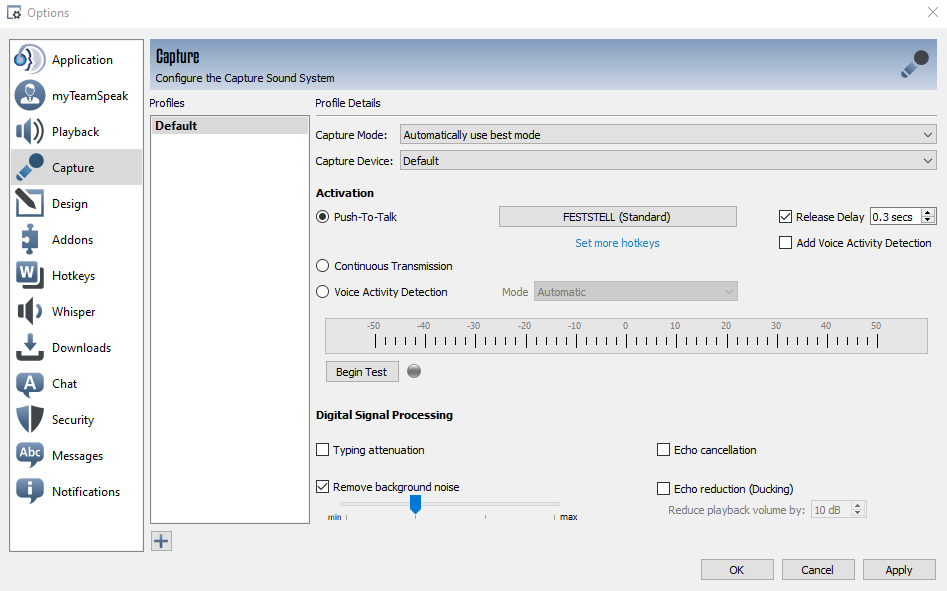
After the hotkey is set you can switch back to Voice Activity Detection.
While you are here make sure your input device is correct.
TS3 is now set up. The next time you launch Arma3 with ACRE2 installed it will automatically install its plugin into TS3.
If it doesn't or you installed the repo first instead of TS3, delete the @acre2 folder out of your arma3 root folder and let Swifty reinstall it with one of the repos.
Step 2: Downloading Swifty
Download the Swifty Setup.exe under DOWNLOAD. (Their direct link is broken I don't know why.)
Run the Setup.exe. If you are using Windows, Defender will most likely show a warning.
Run the Setup.exe. If you are using Windows, Defender will most likely show a warning.
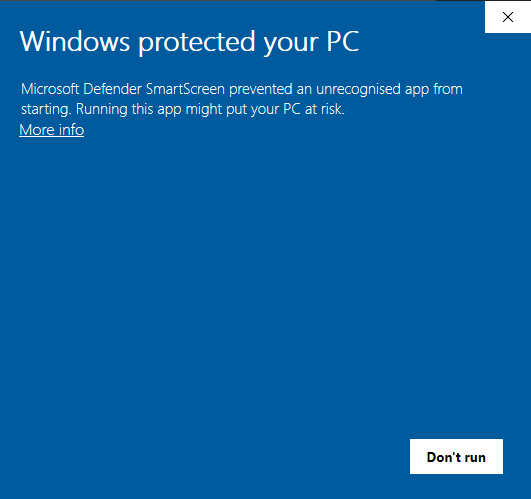
Click "More Info" in the top left.
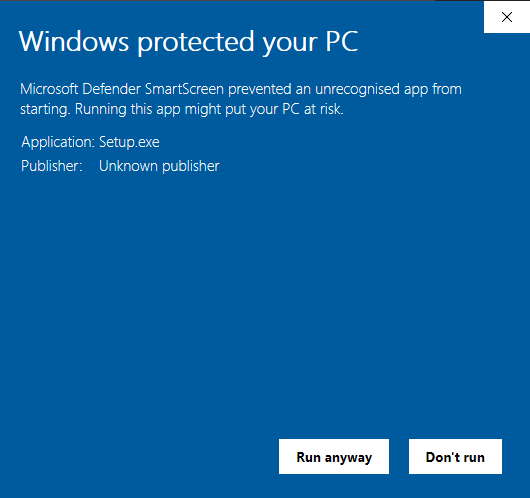
Click "Run Anyway" in the bottom right.
This will create a shortcut on your Desktop.
This will create a shortcut on your Desktop.

Which opens this window:
Step 3: Setting up Swifty
Click the settings button (cogwheel) in the top right.
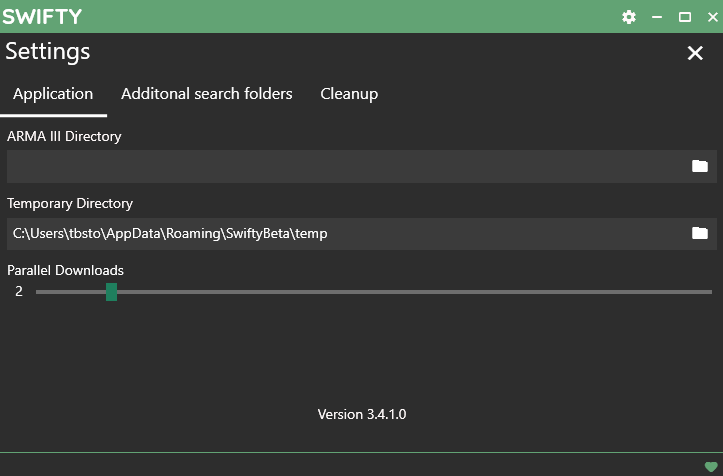
Fill out the ARMA III Directory with the file path to your Arma3 root folder: [...]/SteamLibrary/steamapps/common/arma3
Do not change the temporary Directory, it is automatically generated by Swifty.
You can change the Parallel Downloads higher or lower, depending on what you trust your internet connection to be able to handle.
If you ever notice that a repo has undergone changes and mods may have been removed, go to the Cleanup tab and click the red Clean up text in the bottom right corner. This will delete depricated mods.
Close the Settings screen by clicking the X in the top right (The lower one on black background, not the top one...)
Step 4: Installing Repositories
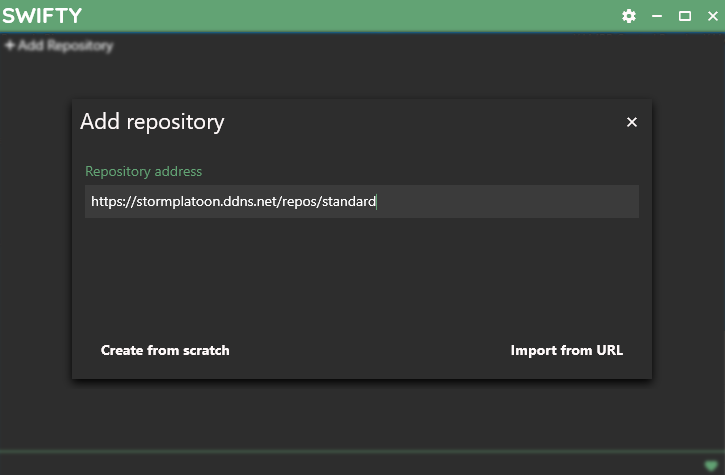
Click + Add Repository in the top left.
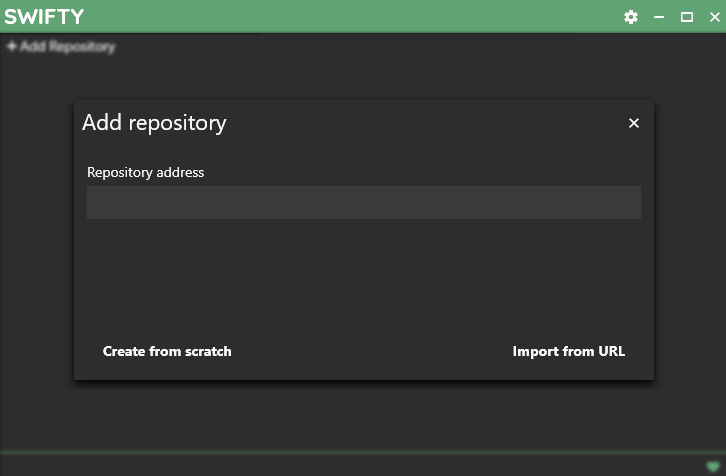
Type in https://stormplatoon.ddns.net/repos/standard/ under Repository address and click Import from URL in the bottom right.
In the following screen the lines should contain this:
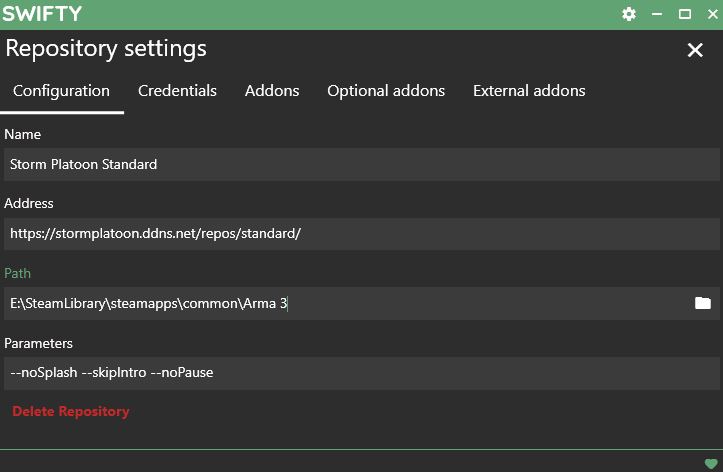
Name: Storm Platoon Standard
Address: https://stormplatoon.ddns.net/repos/standard/
Path: [The Path where you want your mods to be downloaded. Preferably A SEPERATE FOLDER INSIDE your Arma3 root folder under: [...]\SteamLibrary\steamapps\common\Arma3\(Example: "Swifty" or "Mods")]
Parameters: -noSplash -skipIntro -noPause -mod=ef -mod=gm//This makes the game start faster by skipping the Startup cutscene.
After you made sure the settings are correct close the Repo Settings screen by clicking the X in the top right (The lower one on black background...)
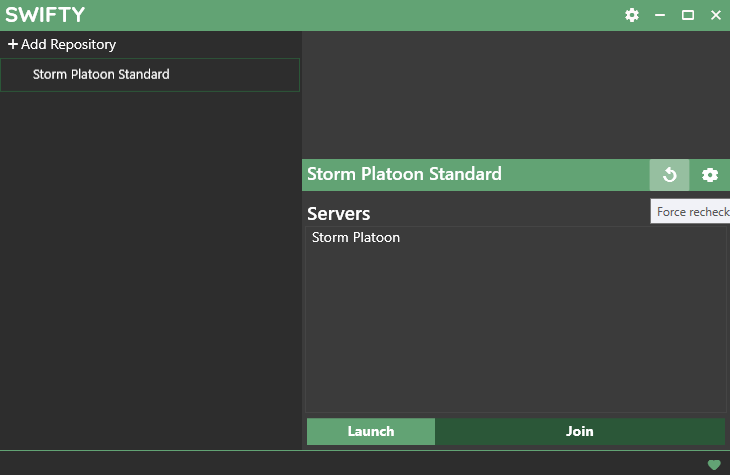
Click the Force recheck button (Ciruclar Arrow) in the center right.
After the programm is done, click the DOWNLOAD button in the bottom center of the pop up window.
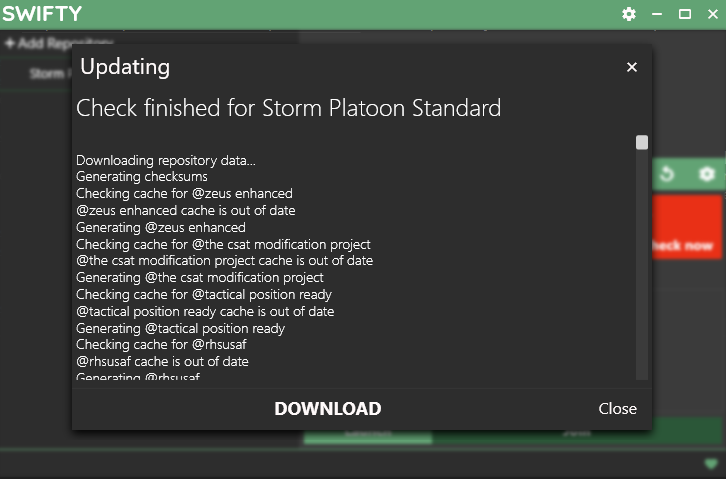
Click Download again in the bottom right corner. This will take a while.
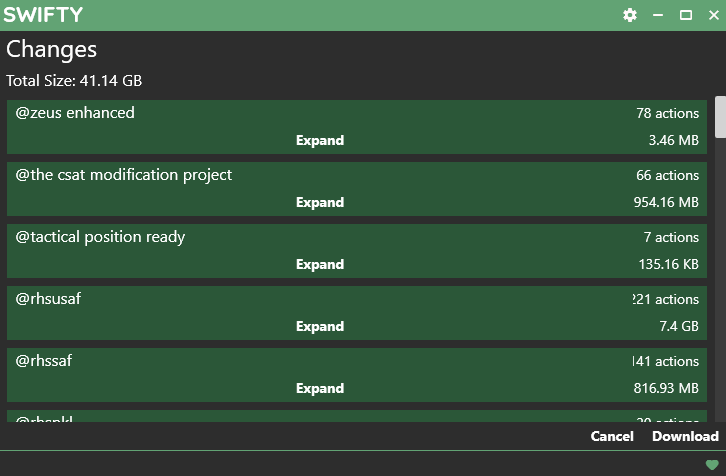
When it is done it will put you back in the main screen. Click the red highlighted Check Now.
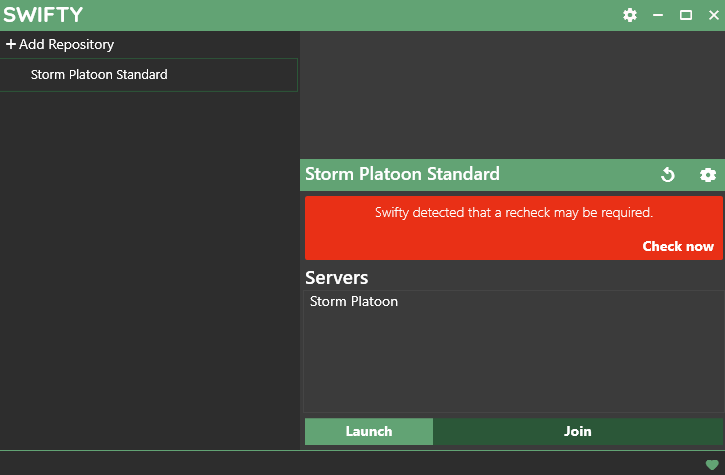
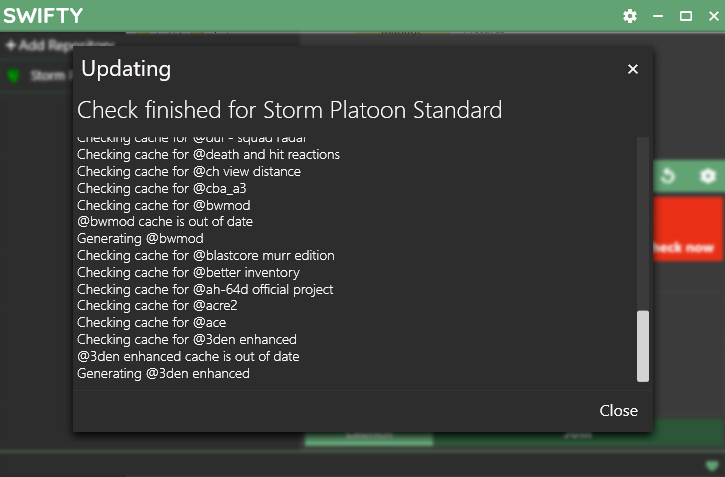
After the check is done the screen should look like this. If the Check Now box persists let it keep checking a few times.
The installaiton of the first repo is finished.
Repeat all these steps with the Antistasi Repository. URL = https://stormplatoon.ddns.net/repos/antistasi/
This should only download one more mod if you give it the same File Path.
Repeat all these steps with the Antistasi Repository. URL = https://stormplatoon.ddns.net/repos/antistasi/
This should only download one more mod if you give it the same File Path.

IMPORTANT!!!
For anyone who does not own the CDLC Expeditionary Forces and/or Global Mobilization:
Click on the Repository Settings (Cogwheel underneath the Banner when having it selected)
Click on the Header "Optional addons" and select the compatablity data mods for the CDLC you do not own.
Do this for BOTH repositories and let it check for updates again.